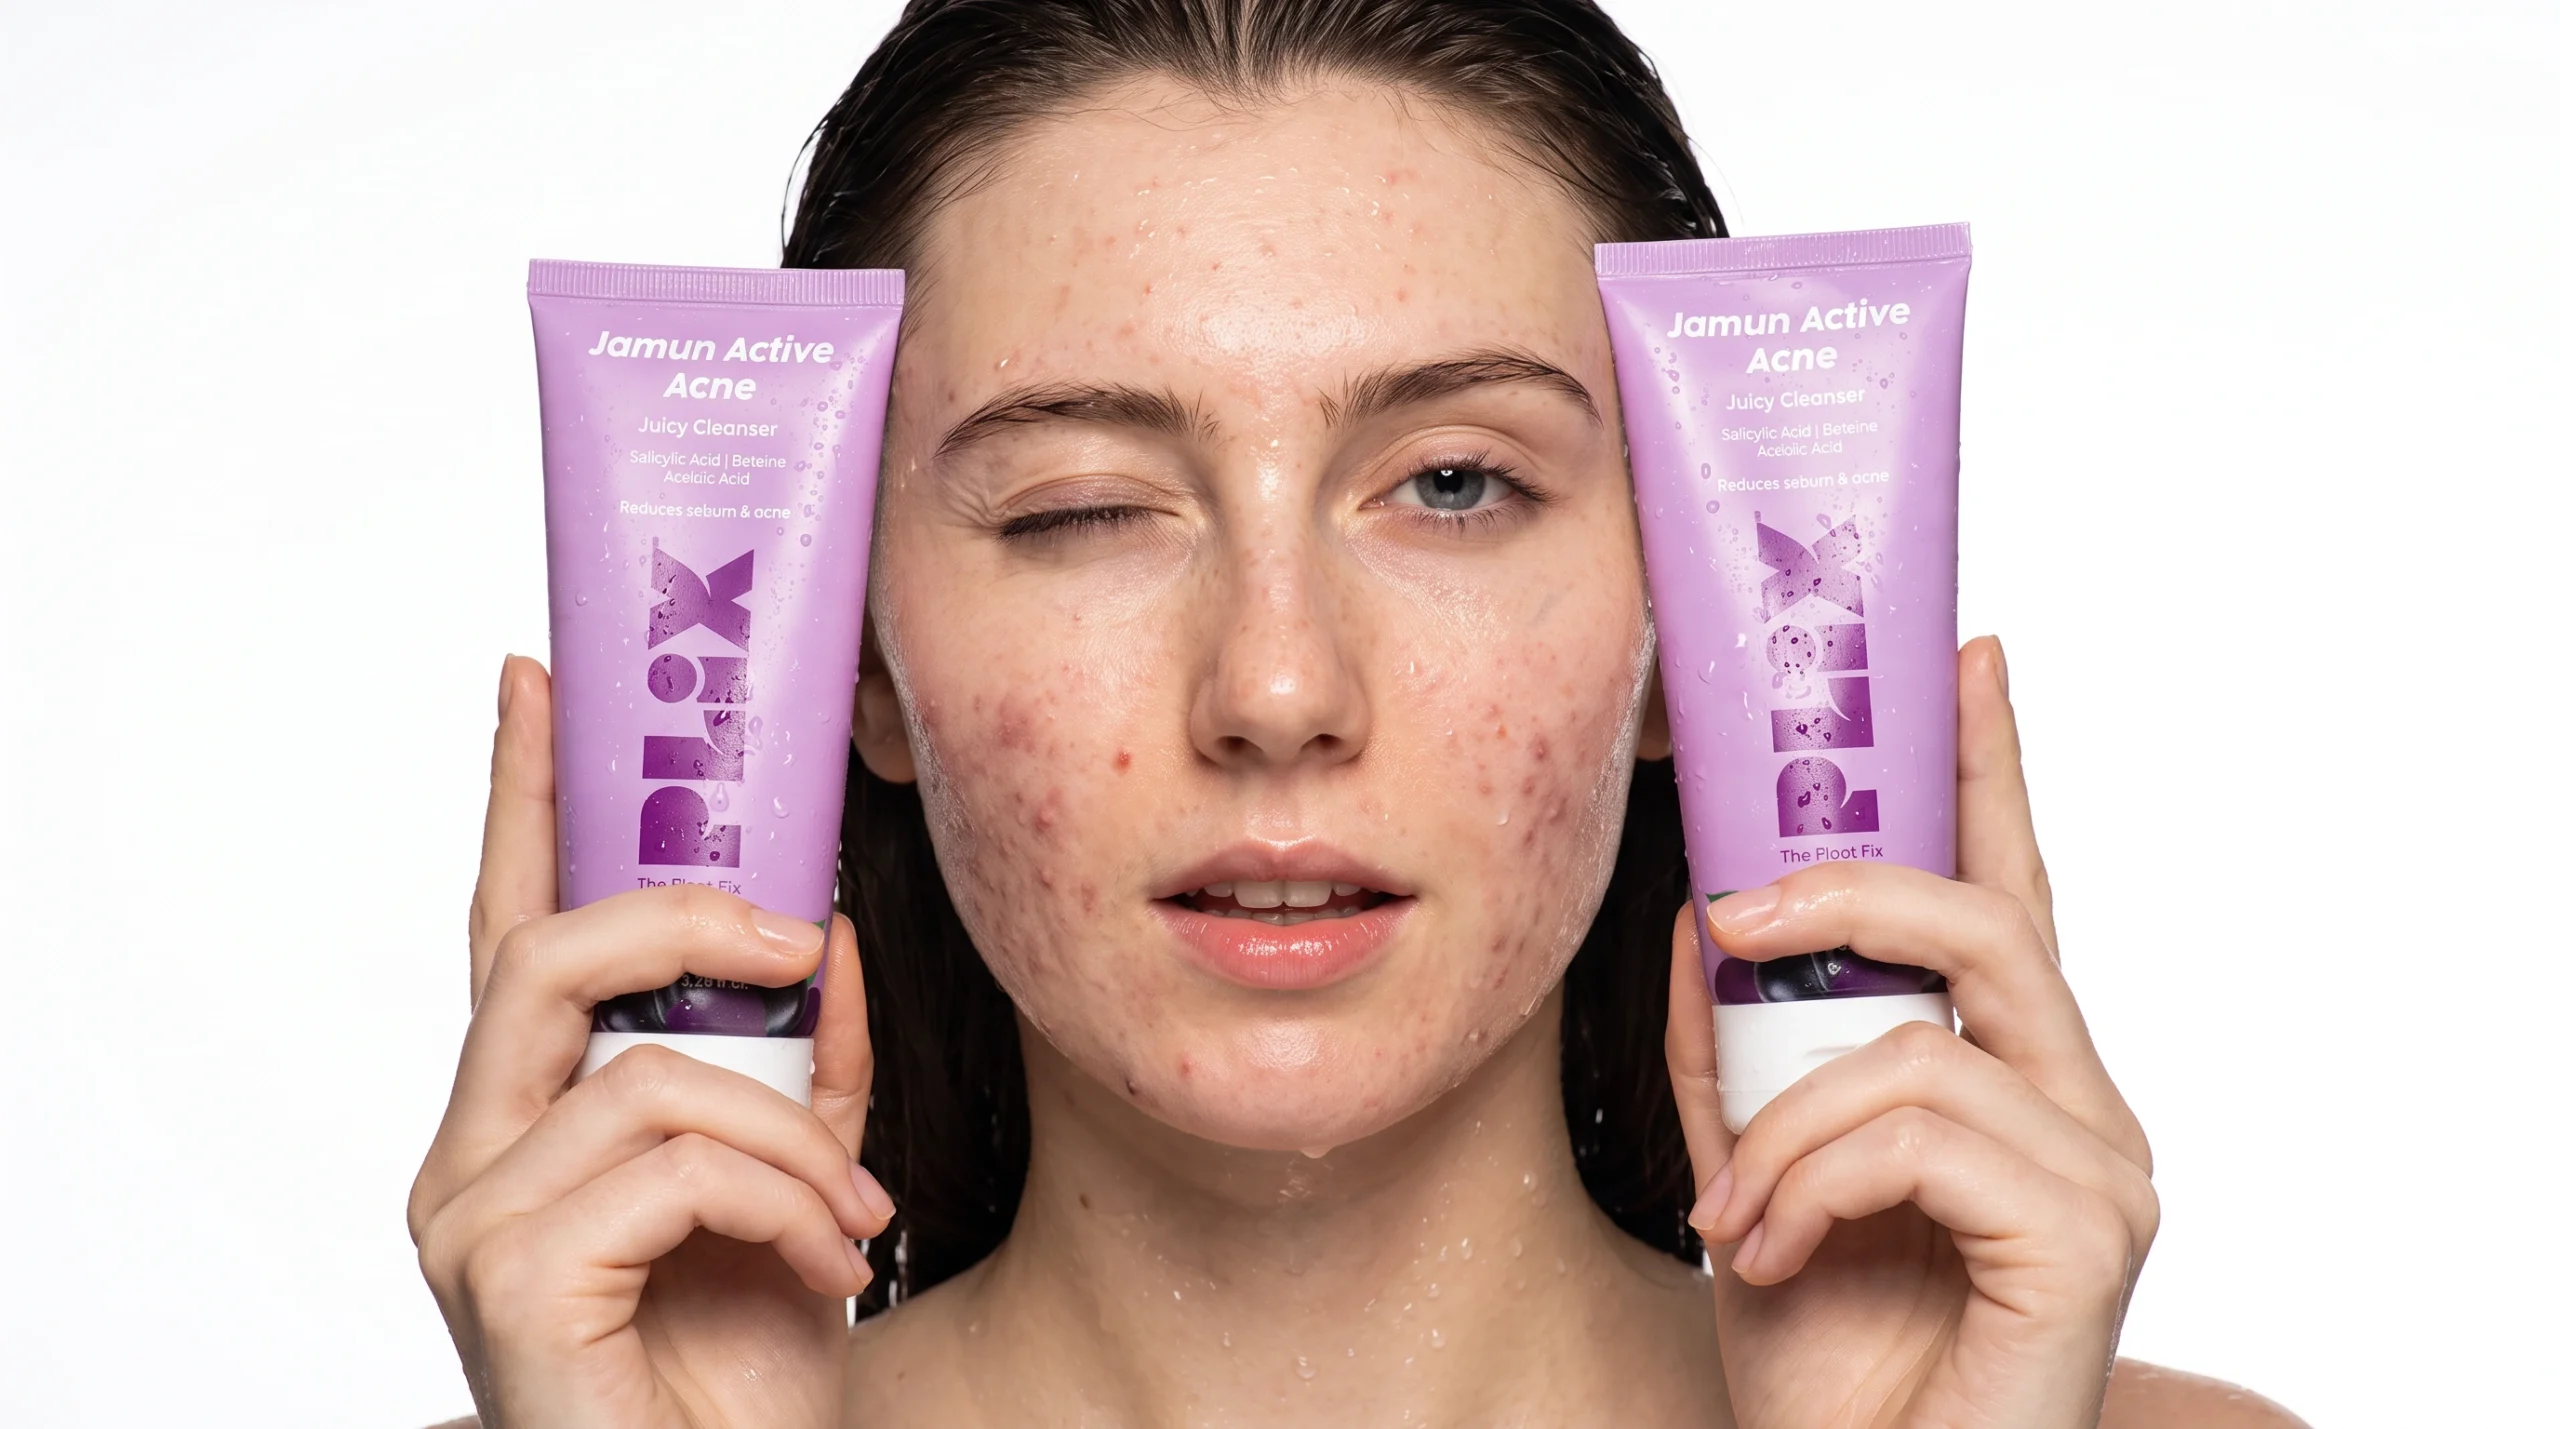
AI IMAGE DIRECTION / MATERIAL STUDY
Most AI skin fails for one simple reason: it is described as a surface, not built as a material. This guide translates a production-ready skin system into decisions you can make before you write a prompt.
Download the complete skin-texture guide Original presentation file · PPTX
1. Start with the failure mode, not the filter
Skin turns artificial when every area shares the same pore density, specular response, warmth, and smoothness. The result may be sharp, but it does not read as living tissue. Realism begins by giving the model distinct material instructions instead of asking it for generic “natural skin.”
Working principle: build a map of variation. Explain what changes across the face, what light does to each zone, and what must remain imperfect.
2. Treat the face as three material zones
The presentation divides facial skin into a practical three-zone system. Use it to anchor prompts and diagnose what is missing when an image looks overly polished.
- Forehead: keep the response restrained and satin-like, with finer texture and controlled sheen.
- Cheeks: allow the softest material transition—subtle warmth, delicate micro-contrast, and no plastic smoothing.
- T-zone: introduce the clearest directional light response without turning it into an oil-slick highlight.
These zones should not be painted as separate effects. They are a continuity system: a small change in pore scale, softness, or highlight behaviour can make the whole portrait more credible.
3. Use a six-slot prompt formula
Rather than stacking beauty adjectives, build the prompt in a stable order. The sequence below keeps material instructions readable for both image models and human teams.
- Subject: establish the person, age range, framing, and expression.
- Material: name the skin quality and the specific micro-texture to preserve.
- Zone behaviour: tell the model how forehead, cheeks, and T-zone differ.
- Light: specify direction, softness, falloff, and highlight restraint.
- Lens and distance: set the observational distance so texture is visible but not clinical.
- Exclusions: block waxiness, blur, over-retouching, uniform pores, and cosmetic-overlay artefacts.
4. Work in four passes
Do not expect a single generation to solve anatomy, material, light, and finish. The source workflow separates the work into four controlled passes.
Establish
Lock composition, framing, face direction, and emotional tone before chasing detail.
Materialise
Add the three-zone skin map, micro-texture, and realistic variation.
Light
Refine light direction and highlight falloff so the material reads naturally.
Correct
Remove plastic artefacts, inconsistent texture, duplicated pores, and over-smoothed areas.
5. Run the zoom check before delivery
Quality control is most useful when it is concrete. Inspect at full frame and then at close range. Look for material continuity, edge integrity around the lips and hairline, consistent pore scale, believable cheek softness, and highlights that follow the plane of the face.
- Are pores varied rather than evenly tiled?
- Do highlights respect the light direction and facial volume?
- Does the cheek remain soft without losing material detail?
- Are the lips, nostrils, and lash line free of melted or painted edges?
- Has any beauty treatment accidentally removed the person’s texture?
Realistic skin is not perfect skin. It is controlled variation that remains coherent under close inspection.